- Popular posts from this blog Make yourself a virtual gallery - March 06, 2021 This short post builds on the previous posts (below), unless ...
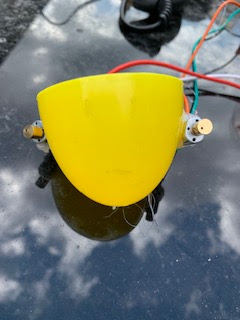
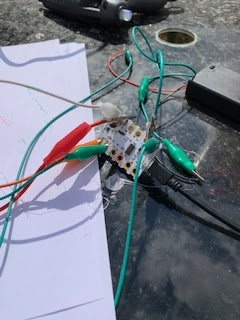
 figure 1 An earlier post https://robotsandphysicalcomputing.blogspot.com/2021/04/junkbots-2-eggbot2.html discussed the start of the deve...
 The Raspberry Pi Foundation recently released a programming activity Alien Language , with support Dale from Machine Learning for Kids , tha...
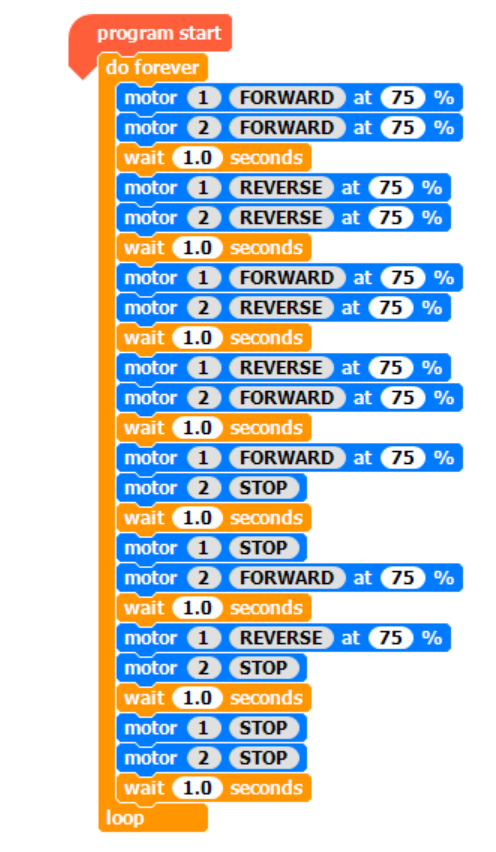
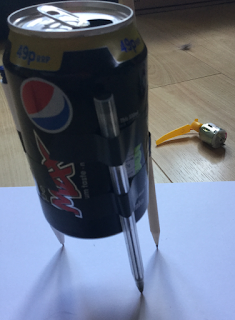
 A new iteration of the junkbots project or more accurately the Crumble-based eggbot sub-project ( https://robotsandphysicalcomputing.blogspo...
 I am going to try to persuade you that using A-Frame it is not hard to do some simple Augmented Reality (AR) for free, via a browser, but th...
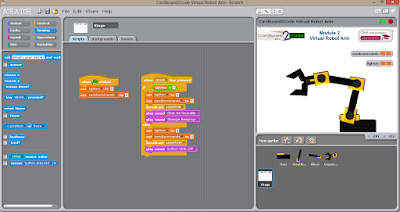
 It is not physical but CBiS Education have release a free robot arm simulator for Scratch. Downloadable from their site http://w...
 Guest Blogger Hiren Mistry, Nuffield Research Placement Student working at the University of Northampton. How to use a PS3 Controller to...
 The free online CAD (and so much more) package Tinkercad https://www.tinkercad.com/ under circuits; now has microbits as part of the list ...
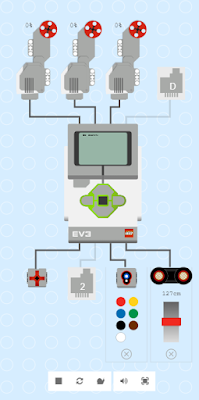
 You can control servos (small ones) from a Micro:Bit directly. Following a link from the David Whale (Twitter @ whaleygeek ) , thank you, t...
 The microbit is a great piece of kit, not least of which because of the range of programming languages and tools that can be used with it - ...
All opinions in this blog are the Author's and should not in any way be seen as reflecting the views of any organisation the Author has any association with. Twitter @scottturneruon


