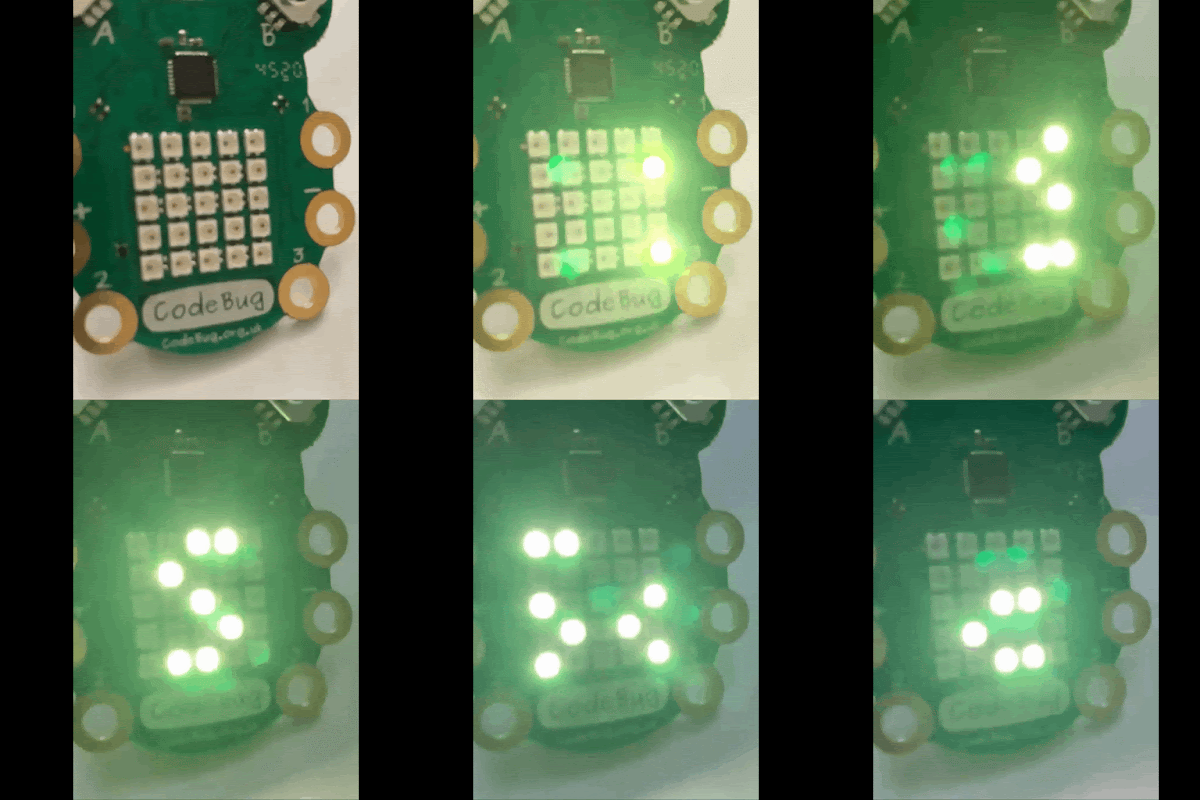
Code Bug has been around for a while, and it is incredibly cute, When it first came, it was a very interesting piece of kit - and it is still is and fun to play with. It spec means it is still a very useful piece of kit.
- 5x5 Red LED display
- 2 buttons
- 6 touch sensitive I/O pads (4 input/output, power and ground)
- Micro USB socket
- CR2032 battery holder
- Expansion port for I2C, SPI and UART
- Blockly-based online programming interface
- CodeBug emulator for checking code before downloading
In 2020 Code Bug launched and successfully funded a Kickstarter campaign (https://www.kickstarter.com/projects/codebug/codebug-connect-cute-colourful-and-programmable-iot-wearable ) for a new version the Code Bug - CodeBug Connect with a serious upgrade.(and the name Connect is highly appropriate with USB tethering and Wifi capability in this version. The technical specification (taken from their site https://www.kickstarter.com/projects/codebug/codebug-connect-cute-colourful-and-programmable-iot-wearable ) shows how much of an upgrade this is:
- 5x5 RGB LEDs with dedicated hardware driver/buffer
- Two 5 way navigation joysticks
- Onboard Accelerometer
- 4 GPIO legs, including high impedance sensing for detecting touch (think MaKey MaKey TM)
- 6 Sewable/croc-clip-able loops. 4 I/O including analogue 1 power and ground
- 6 pin GPIO 0.1" header (configurable for UART/I2C/SPI, I2S or analogue audio out)
- QuadCore -- four heterogeneous processors
- 4MB Flash Storage
- 2.4GHz WiFi 802.11 b/n/g, Station and Soft AP (simultaneous)
- Experimental long range wireless 0.8km to another CodeBug Connect
- UART terminal access over USB
- High efficiency SMPS Boost convertor for battery (JST PH connector)
- High efficiency SMPS Buck convertor from 5V USB
Recently the early version of the Connects have been arriving and it is cool (IMHO).
The getting going guide https://cbc.docs.codebug.org.uk/gettingstarted/quickstart.html lives it up to its name and does a better explanation of doing this than I can provide here.
First I played with the USB and the blockly style programming tool https://www.codebug.org.uk/newide/ (see above) essentially producing a very slightly modified version of their starter code. You can perhaps see the Python style coming in with the while True coming in. Works well and it showed one of the different between this version and the older one; the LEDs are now colourful instead of red only. Programming it, while using the laptops USB to power it does lead to pulling the cable in and out to get the code to run - but that is fine and is clearly explained in the guide
import
cbc
from
color import Color
import
time
while
True:
cbc.display.scroll_text(str(" Bug
1"), fg=Color('#f0ff20'))
time.sleep(1)
They have even thought about security. I set my system to connect via wifi through my phone; but when I want to connect through my laptop I had to go through the adoption process to try it on my phone and a laptop - sounds scary but it is well explained in the getting going guide and is relatively simple to do.
Looking forward to exploring the device a lot more, the guide also includes a number of code examples to play with and explore. A feature I particularly liked was seeing the block code rendered as python when using the editor on the phone.


Comments
Post a Comment