Using Mozzila's
brilliant AFrame, a web-based Virtual Reality model of a planet with rings and
include a moon with an image on it.
Step 1. Basic Planet
The first step is to set a new site in Glitch.com
and then add a white sphere on a black background.
<html>
<head>
<script src="https://aframe.io/releases/1.5.0/aframe.min.js"></script>
</head>
<body>
<a-scene>
<a-sphere position="0 1.25 -5" radius="3" color="white"
>
</a-sphere>
<a-sky color="black"></a-sky>
</a-scene>
</body>
</html>
Using the Aframe
'tags' to create a white sphere and to create a black background
Step 2: Rotate the planet and add some colour
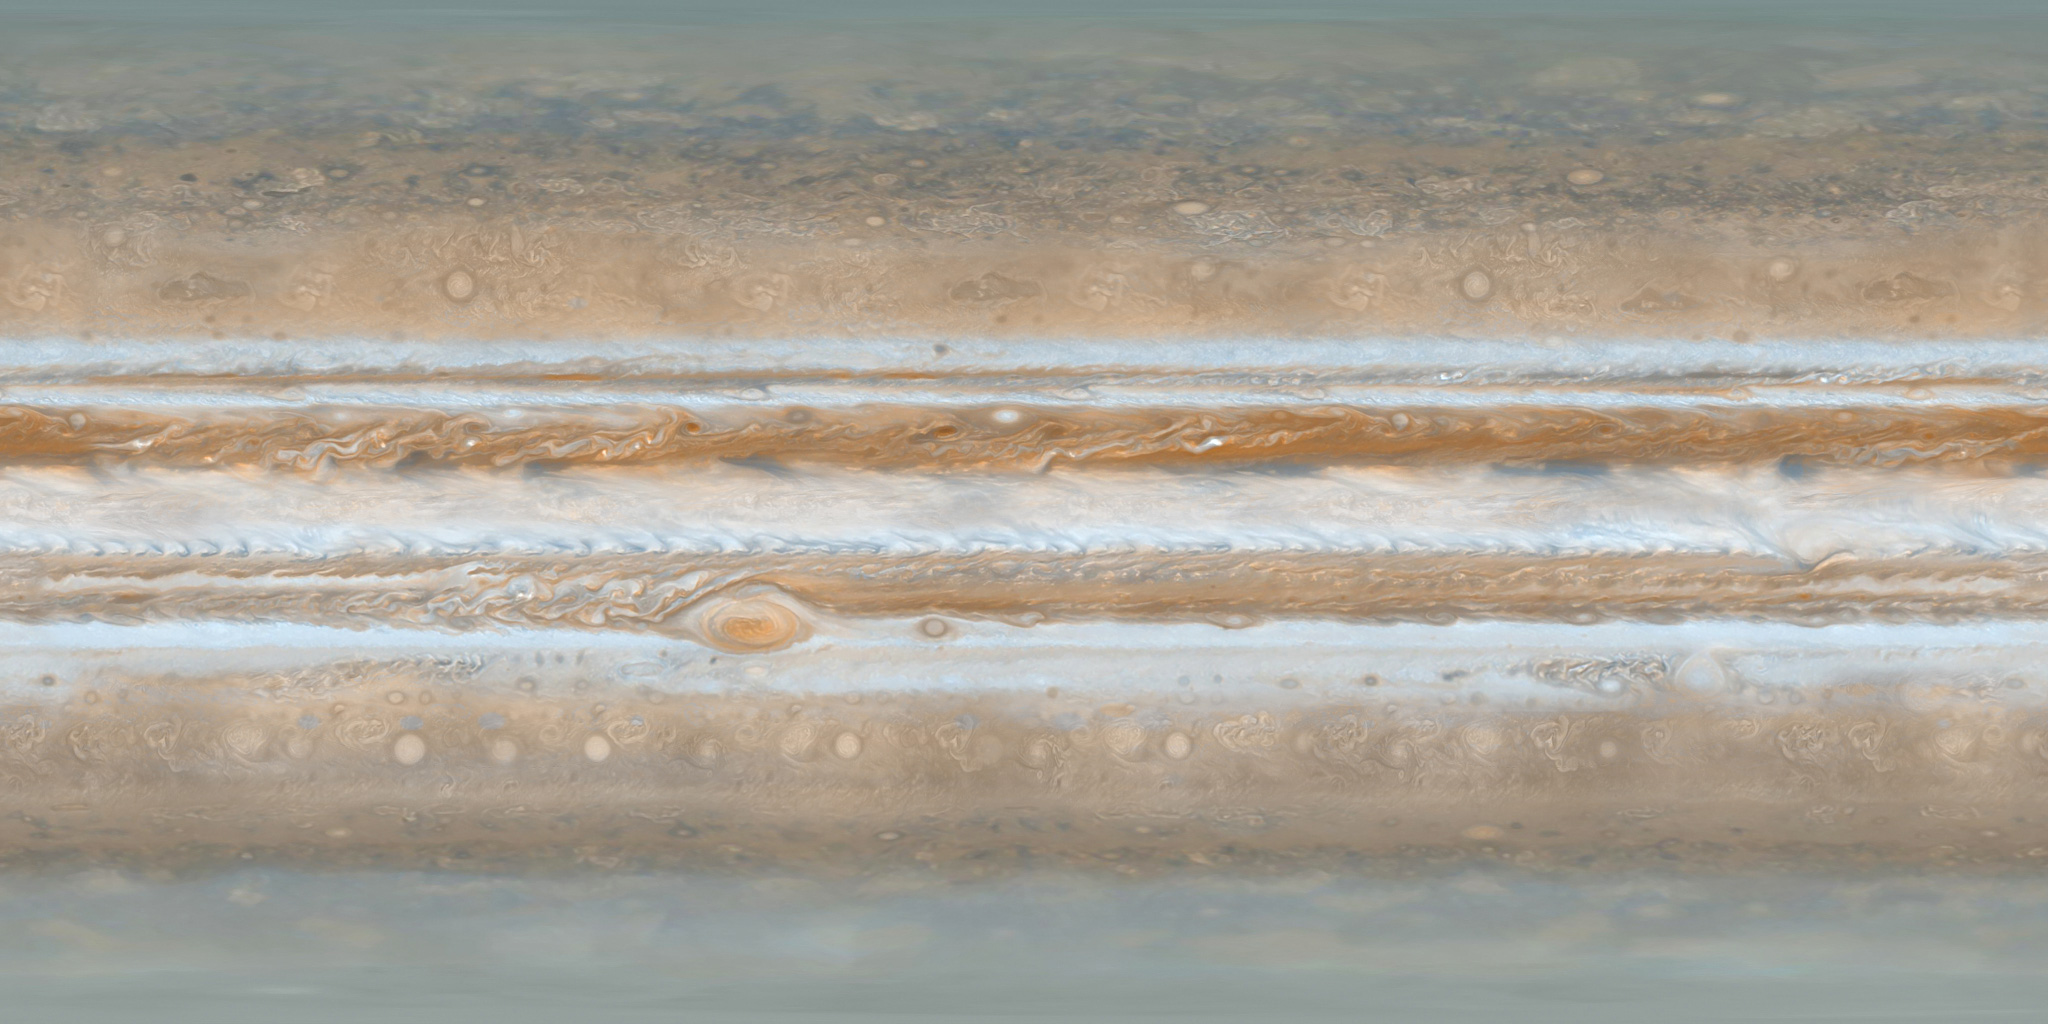
Now we can add a surface to the planet by finding an appropriate image to wrap
around the sphere. in this example, I used the site Solar Systems Scope (https://www.solarsystemscope.com/textures/)
and downloaded an image of Jupiter's surface (https://www.solarsystemscope.com/textures/download/2k_jupiter.jpg).
(a)If you are using
Glitch: This needs to be copied into the assets folder of the project and the
URL generated (by left-clicking on the image when it is in the folder) copied.
(b)On you own site
upload the image to the same folder as the webpage the ‘URL’ will be filename
(c ) Alternatively use
this URL in either approach https://cdn.glitch.com/febf6408-3c33-4608-ac90-b087753e5792%2F2k_jupiter.jpg?v=1573393224376
Now by adding
src="" and in the speech-marks paste in the URL for the image; the
image wraps around the sphere.
<html>
<head>
<script src="https://aframe.io/releases/1.5.0/aframe.min.js"></script>
</head>
<body>
<a-scene>
<a-sphere position="0 1.25 -5" radius="3"
color="white"
src="https://cdn.glitch.com/febf6408-3c33-4608-ac90-b087753e5792%2F2k_jupiter.jpg?v=1573393224376"
animation="property: rotation; to: 0 360 0; loop: true; dur:
10000">
</a-sphere>
<a-sky color="black"></a-sky>
</a-scene>
</body>
</html>
Now to rotate
it add, also within the , section animation="property:
rotation; to: 0 360 0; loop: true; dur: 10000" (see above or the code at
the end of the post for more details).
Step 3: Adding ring
In Aframe if you nest another object with the <></> of another
object it's position is set relative to the first object. This principle is going
to be used here put a ring around the planet. The first stage is to add the ring
object is used for this and a the same rotating animation is used. We are
going to use a squashed doughnut shape <a-torus> to do this. One the
webpage is running you will probably need use the down arrow key to zoom out to
see the ring.
<html>
<head>
<script src="https://aframe.io/releases/1.5.0/aframe.min.js"></script>
</head>
<body>
<a-scene>
<a-sphere position="0 1.25 -5" radius="3" color="white"
src="https://cdn.glitch.com/febf6408-3c33-4608-ac90-b087753e5792%2F2k_jupiter.jpg?v=1573393224376"
animation="property: rotation; to: 0 360 0; loop: true; dur:
10000">
<a-torus position="0 0 0"
arc="360"
rotation="90 0 0"
color="white" radius="5"
radius-tubular="0.05"
animation="property: rotation; to:
90 0 0; loop: true; dur: 3000">
</a-torus>
</a-sphere>
<a-sky
color="black"></a-sky>
</a-scene>
</body>
</html>
Step 4: Adding a moon
The process is really just combining elements of the steps 1-3. Create a new
sphere,set the radius to something around 0.25 to 0.5; colour it with whatever
you feel is appropriate, add an image (in the example code one has been added)
if you want, set a rotation (it is is fun to play with these a bit and place
the moon on the ring (setting position="5 0 0" in this case does
this.
If the
images are accessible as web sources this could be a great option.
<html>
<head>
<script src="https://aframe.io/releases/1.5.0/aframe.min.js"></script>
</head>
<body>
<a-scene>
<a-sphere position="0 1.25 -5" radius="3"
color="white"
src="https://cdn.glitch.com/febf6408-3c33-4608-ac90-b087753e5792%2F2k_jupiter.jpg?v=1573393224376"
animation="property:
rotation; to: 0 360 0; loop: true; dur: 10000">
<a-torus position="0 0
0"
arc="360"
rotation="90 0 0"
color="white"
radius="5"
radius-tubular="0.05"
animation="property:
rotation; to: 90 0 0; loop: true; dur:
3000">
<a-sphere position="5 0
0"
rotation="0 0 0"
radius="0.5"
color="yellow"
src="https://cdn.glitch.com/febf6408-3c33-4608-ac90-b087753e5792%2Fpanic.png?v=1573395380360"
animation="property:
rotation; to: 0 259 0; loop: true; dur:
3000">
</a-sphere>
</a-torus>
</a-sphere>
<a-sky color="black"></a-sky>
</a-scene>
</body>
</html>
Step 5: Lets us add
some text.
So we might want to
put some text into the world we can do that with <a-text value=””>
<html>
<head>
<script src="https://aframe.io/releases/1.5.0/aframe.min.js"></script>
</head>
<body>
<a-scene>
<a-sphere position="0 1.25 -5" radius="3"
color="white"
src="https://cdn.glitch.com/febf6408-3c33-4608-ac90-b087753e5792%2F2k_jupiter.jpg?v=1573393224376"
animation="property:
rotation; to: 0 360 0; loop: true; dur: 10000">
<a-torus position="0 0
0"
arc="360"
rotation="90 0 0"
color="white"
radius="5"
radius-tubular="0.05"
animation="property:
rotation; to: 90 0 0; loop: true; dur:
3000">
<a-sphere position="5 0
0"
rotation="0 0 0"
radius="0.5"
color="yellow"
src="https://cdn.glitch.com/febf6408-3c33-4608-ac90-b087753e5792%2Fpanic.png?v=1573395380360"
animation="property:
rotation; to: 0 259 0; loop: true; dur:
3000">
</a-sphere>
</a-torus>
</a-sphere>
<a-text value="Planet CCCU Computing" position="0 4
-2"></a-text>
<a-sky color="black"></a-sky>
</a-scene>
</body>
</html>
We can get
interesting effects if we add the text between
</a-sphere> and </a-torus> Try adding this in there. <a-text value="Planet CCCU
Computing" position="0 3 -2"></a-text>
Have a play with altering
the text and putting the line elsewhere in the code. What happens?
Step 6:
Now going to use an
image to change the background. The image is "space" by fleskw is licensed with CC BY 2.0. To view a copy of this
license, visit https://creativecommons.org/licenses/by/2.0
You will need to change the sky colour to a light colour for this to work. So
change the sky line in the code to
<a-sky color="white"
src="https://cdn.glitch.com/425c1a98-7ba9-463d-817d-6b491a516246%2F97b3bf6d-ced1-4041-80d4-b6c9a98ba43d.jfif?v=1614341330757"></a-sky>
L
All opinions in this blog are the Author's and should not in any way be seen as reflecting the views of any organisation the Author has any association with. Twitter @scottturneruon


