Saturday 1 September 2018

Build a Disco cube:bit that reacts to music.

In a previous post Micro:bit and Cube:bit 'says' Hello I introduced the start of me playing with the 4tronix Cube:bit. One of the things I want to try is get the cube to react to music, based around the accelerometers in a micro:bit picking up vibrations. Luckily, in an earlier post, I had done something similar for the Proto-Pic Micro:pixel (see Dancing Pixels for more details).

 Essentially the idea is the vibrations from the music shake the micro:bit enough to give measurable changes in three axis, and these values are used to change the pixel's colour - in fact five pixels at a time.

The code shown below is all that was needed:
from microbit import *
import neopixel, random

np = neopixel.NeoPixel(pin0, 125)

while True:
    for pxl in range (2,125, 5):
        rd=int(abs(accelerometer.get_x())/20)
        gr=int(abs(accelerometer.get_y())/20)
        bl=int(abs(accelerometer.get_z())/20)
        np[pxl] = (rd, gr, 0)
        np[pxl-1] = (rd, gr, 0)
        np[pxl+1] = (0, gr, rd)
        np[pxl-2] = (rd, 0, 0)
        np[pxl+2] = (0, gr,0)

        np.show()

Here it is in action:


The music used in the video is 


Please feel free to improve on this.


All opinions in this blog are the Author's and should not in any way be seen as reflecting the views of any organisation the Author has any association with. Twitter @scottturneruon

Microbit and Cube:bit 'says' Hello

Since seeing pictures of the 4tronix Cube:bit I have intrigued by it and now I have one. So what is it? It is a 3D array of neopixel-style LEDs, or another way of describing it a programmable box of LEDs (or just good fun). The option I went for the 5x5x5 array (125 LEDs) controlling it with a micro:bit, and the base for mounting and powering the grid.


Instructions for putting it together can be found at https://4tronix.co.uk/blog/?p=1770. My main bit of advice is read the instructions carefully especially if you go for the 5x5 options, at the time of writing, you need to move a standoff around but it is all in the instructions. Admittedly I missed this step initially. 

So to playtime, using a microbit I wanted to spell-out HELLO across the grid using the Micro:Bit JavaScript Blocks/MakeCode Editor. Basically, my solution revolved around creating two JavaScript functions to produce vertical and horizontal patterns on the grid (sounds good saying that - reminds me of Tron). What is very useful is 4tronix's have provided their own MakeCode package (the URL needed is in the instructions https://4tronix.co.uk/blog/?p=1770 ), this was great it made it even easier to get programming. The plan was put H is one first vertical plane, the E on the next and so on.

The code to my solution is available here https://makecode.microbit.org/_ePhFgu13i97D  or can be seen or download from below.


The video below shows it in action. 


It isn't the cheapest option for producing a grid of neopixel-style LEDs but it probably one of the easiest ways to do this. Quite quickly (if you read the instructions) you have a 3D array of LEDs to program. Last but not least, it is fun. Now I have to think (or rather stop thinking) about all the things I want to do with this.


Another review and related links:


All opinions in this blog are the Author's and should not in any way be seen as reflecting the views of any organisation the Author has any association with. Twitter @scottturneruon

Monday 20 August 2018

Getting Crabby with EduBlock for Microbit

This is really pulling together two recent posts, one when I started playing with Edublocks for the microbit and one about playing with BinaryBots Crab .


The BinaryBots Totem Crab is available at https://www.binarybots.co.uk/crab.aspx


Here I going to use Edublocks (https://microbit.edublocks.org/) by @all_about_code to control the claw of the Crab to close when button A is pressed (and display a C on the LEDs)  and open the claw when button B is pressed. For a discussion on the Crab and what the pins are, etc goto http://robotsandphysicalcomputing.blogspot.com/2018/08/crabby-but-fun.html for more details. 


The timing of the opening and closing is controlled by how long the C or O takes to scroll across the LEDs. As an aside, but I found it interesting (it appeals to my geekiness), if you save the blocks, using the Save button; it stores it as an XML file, an example extract is shown below:


Now I want to explore a little the Python editor in Edublocks; to see if it can be used to expand the range of activities. The code as it stands now:


Using some code developed by CBiS Education/ BinaryBots I have added some code to read the Crab's temperature sensor and display "Warm" or "Cold" depending on this. The code uses the struct module to convert between strings of bytes (see https://pymotw.com/2/struct/) and native Python data types. to work with  the I2C bus which the Crab sensors use (more details on the bus can be found https://microbit-micropython.readthedocs.io/en/latest/i2c.html ). The code below was then download as a hex file to the microbit as before.


The Crab's reads in the temperature and displays either message "Warm" or "Cold" - currently repeatedly "Warm". The open and closing of the claws still works.

   
So this was a double win, I had a chance to explore whether the Edublocks Python works as advertised and it does and an opportunity to play with the Crab a bit more; a definite win-win.

Acknowledgement: Thank you to Chris Burgess and the team at Binary Bots/CBiS Education for sending me a copy of the Python code for accessing the sensors on the Crab.


All opinions in this blog are the Author's and should not in any way be seen as reflecting the views of any organisation the Author has any association with. Twitter @scottturneruon

Speech with EduBlocks on BBC microbit

The microbit is a great piece of kit, not least of which because of the range of programming languages and tools that can be used with it - officially JavaScript and Python and but there is also a range of third-party ones. A useful place to look for what languages/tools  are available is http://microbit.org/code-alternative-editors/; listing both official and third-party tools (there was a few I wasn't aware of ). One I was aware and meaning to play with, is the brilliant Edublocks by Josh Lowe (@all_about_code) or more  specifically in this post Edublocks for BBC Micro:bit (https://microbit.edublocks.org/).


Edublocks for the microbit (and Edublocks in general) allows graphical blocks of code, in a similar way to languages such as Scratch, to be dragged and dropped into places. That in itself would be great, but the really useful thing here is though, whilst doing it you are actually producing a Python program (technically in the microbit case micropython)- a good way (as others have said before e.g https://www.electromaker.io/blog/article/coding-the-bbc-microbit-with-edublocks ) of bridging the gap between block based programming tand text-based programming language (ie. Python). Added to this is the support for Python on the microbit and the things like speech, access the pins and neopixels you have a really useful and fun tool. 


Talk is cheap (sort of!)
The project shown here is getting the microbit to 'talk' using speech. I have attached a microbit to Pimoroni's noise bit for convenience (https://shop.pimoroni.com/products/noise-bit but equally, alligator wires and headphones could be used (https://www.microbit.co.uk/blocks/lessons/hack-your-headphones/activity ). The routine below allows when button A on the microbit is pressed the Microbit (through a speaker) to say Hello, B say Good bye and when both pressed Now what ? Simple but fun.


The equivalent Python code
They are essentially the same.


Here is a video of it in action:


Thoughts.

As you might have gathered I think this Edublocks for the microbit is a fantastic tool. I am planning my new experiments with it now- coming soon to this blog. Edublocks for the microbit is not all Edublocks can do, the project itself can be found at https://edublocks.org/ is well worth a look. For playing with the microbit for the first time with Python I would recommend Edublocks for the microbit  https://microbit.edublocks.org/


All opinions in this blog are the Author's and should not in any way be seen as reflecting the views of any organisation the Author has any association with. Twitter @scottturneruon

Wednesday 8 August 2018

Scratch 3 that microbit

The Beta version of Scratch 3 (https://scratch.mit.edu/microbit) allows certain physical computing devices to interact with the Scratch; including the micro:bit. This post looks at a little experiment with the micro:bit; producing a pen that moves around the screen controlled by tilting a micro:bit.


Set-up
In the video above an example of the pen moving under micro:bit control is shown. Also, some discussion of setting up Scratch to work with the micro:bit is included. The best source for the instructions to set up the micro:bit/Scratch combination and the links needed is https://scratch.mit.edu/microbit. The key features are:
- The programming of the Micro:bit via Scratch is not done by downloading a new .hex file each time as you do with the python or the javascript blocks but is done through the Scratch Link which has to be run separately to the Scratch editor each time you have a session using Scratch and the Micro:bit. There is a version for both windows and OS X.
- One program/hex file is downloaded on to the micro:bit to form the link between the micro:bit and scratch.


Microbit and Pens
The experiment was to get a micro:bit to control a pen around the screen and draw (the video above shows the pen moving around under micro:bit control but not drawing).


The key to all of this the little blue icon at bottom left of the editor; this allows extra blocks/features to be added. You first need to connect a micro:bit; click on the blue icon and select the micro:bit option and attach a micro:bit to your machine, the system should (hopefully) allow you to make a connection. As well as the micro:bit blocks you will need to add the pen blocks via the blue icon and the pen option.
The code (see below) does two basic things
- Press button B on the micro:bit resets the pen to a fixed starting point;
- Tilting the micro:bit forwards and backwards (once the green flag has been pressed) moves the pen forward or backwards in the direction that the pen is facing and tilting left or right turns the pen.


At the moment the pen is drawing as if the nib is in the middle of the pen (see below) but tilting the micro:bit does give rough control. It is fun, to mix Scratch and micro:bit.


All opinions in this blog are the Author's and should not in any way be seen as reflecting the views of any organisation the Author has any association with. Twitter @scottturneruon

Friday 3 August 2018

Crabby but fun

Just started playing with one of BinaryBots latest Totem robots - Crab https://www.binarybots.co.uk/crab.aspx, which as the name suggests is a crab-like robot kit with controllable via a Microbit a claw. 

It is early days playing at the moment, but some initial thoughts. You get a solid looking (and is solid) robot when it is built via a 'meccano-esque ' like construction material - Totem . A brief note on the Totem system is it is nice to build with, the design around the square nuts mean they slot into the structs and stay there - a nice feature, and the all the tools needed to build the structure come with the kit. The only thing missing from the kit is the micro:bit, but if you buying the kit you probably already have one (or more) microbits; or you can get one at the same time as buying the kit.

Two boards come with the kit. First one, the power board, has the battery holder and connections for motors. The second the BinaryBot sensor board has number of features I have yet to explore including two capacitive touch sensors, 4 addressable LEDs, light sensor, vibramotor for producing vibrations and a buzzer.


Playing so far!
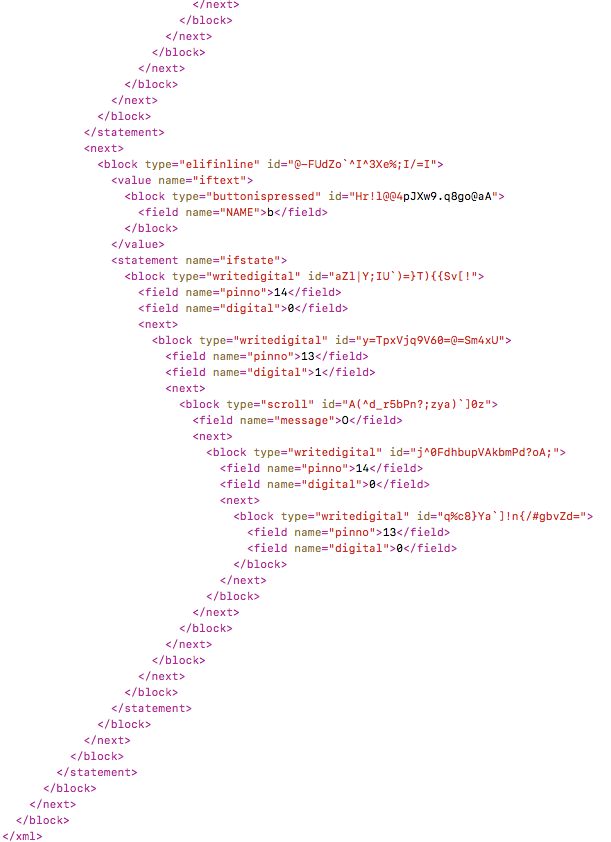
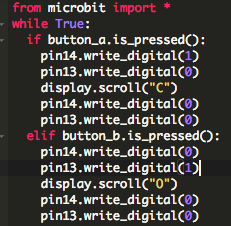
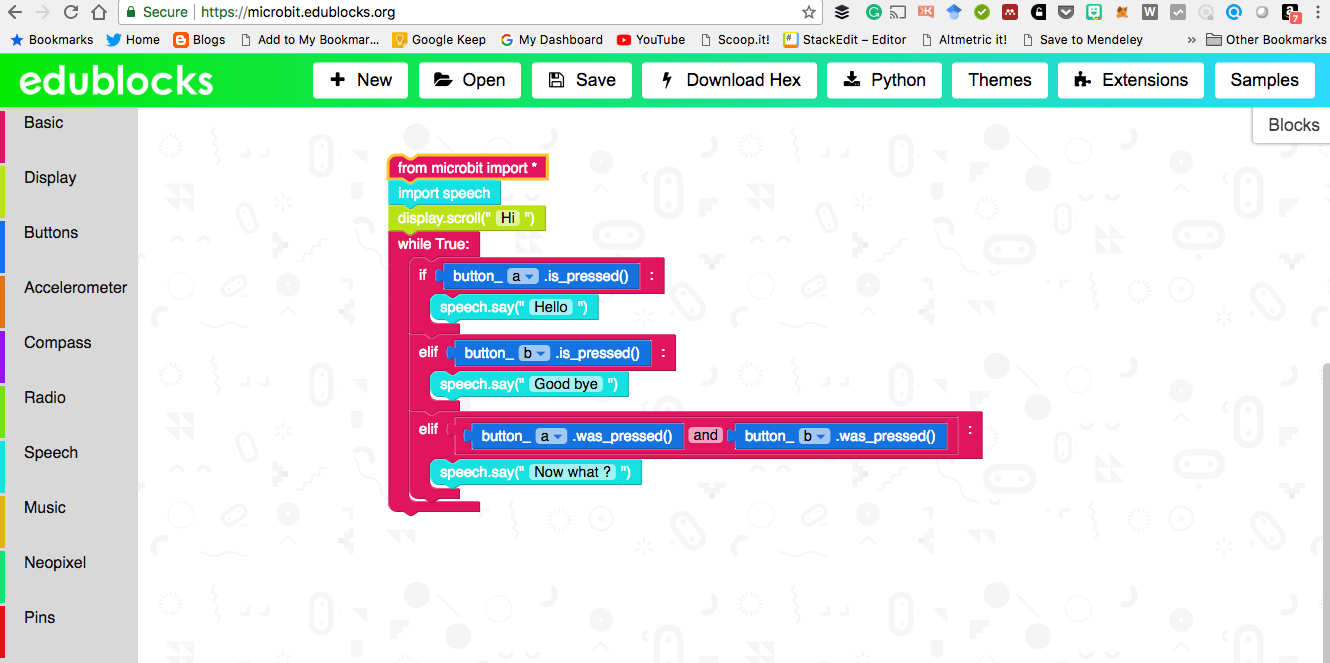
After building it the Crab, I have mainly been playing with using the javascript blocks to control the opening and closing of the claw. Simple routine below,   controls the claw: open (and display an o on the microbit) or close the claw 9and display a c on the microbit), depending on whether button B or A is pressed.


It is fun, and works. Looking at the two boards though finding the pin numbers, etc to add motors access the sensors is where the real fun is going to begin.


Some ideas initial ideas for where next
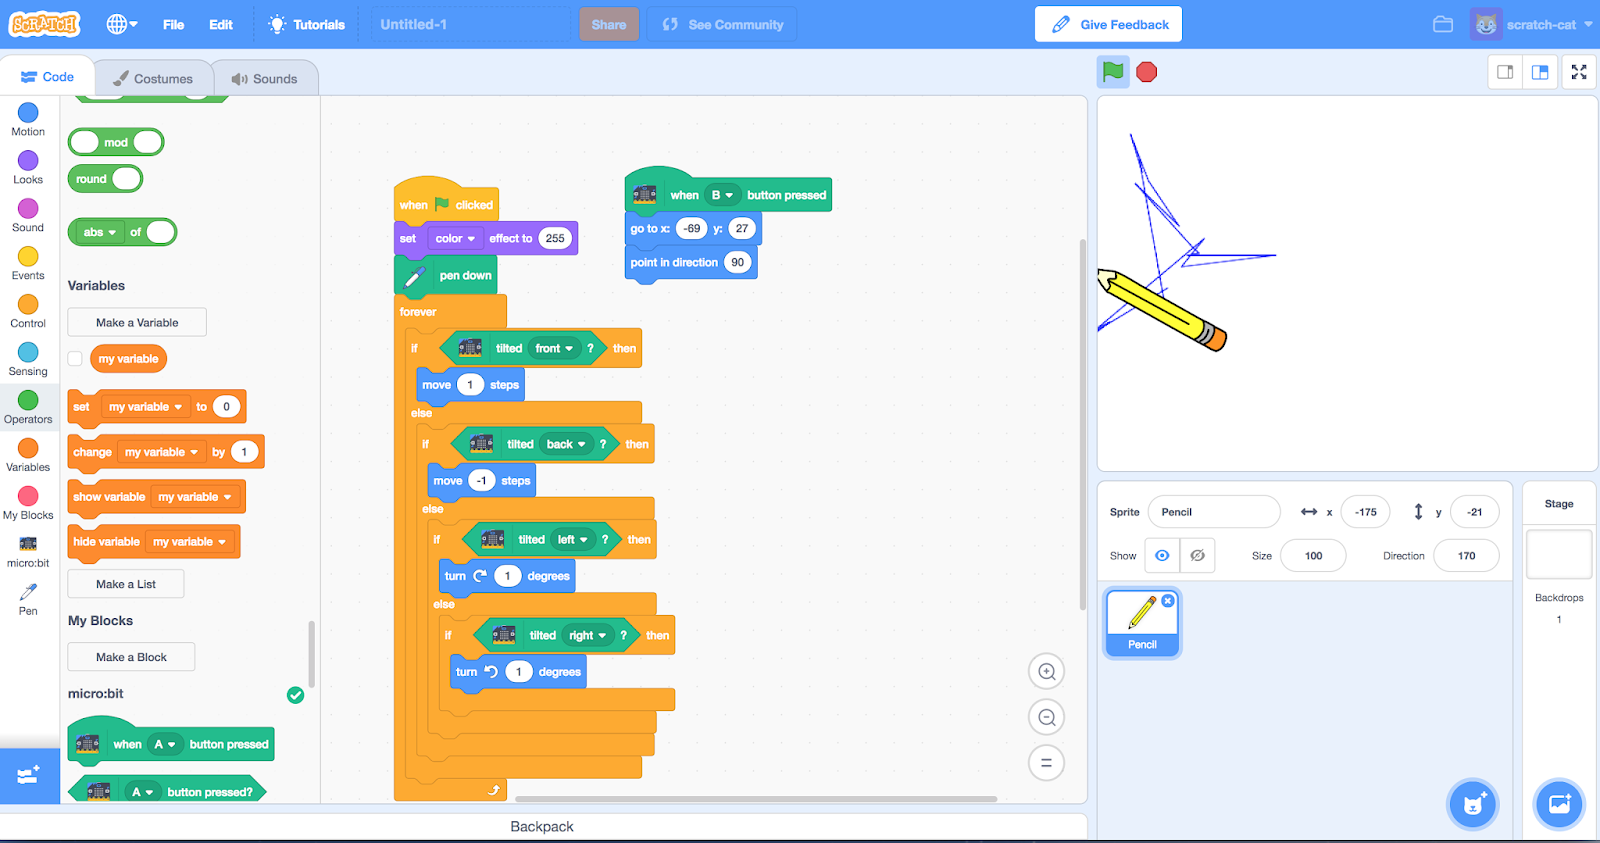
- Play with python to program it.
- The Vibramotor included may not be powerful enough to do the next idea - make it move by vibration. The sturdy structure means the stronger vibrations may needed to make it move. Nice thing about the kit is the construction is sturdy so it should be able to take the stronger vibrations by adding more larger vibrating motors (to see the kind of thing I mean see: https://medium.com/@scottturneruon/crumble-junk-eggbot-db0a1d02595f ). There is room on the power board for connecting motors.
- Getting the claw to react to light.

I am looking forward to playing with it a bit more!


All opinions in this blog are the Author's and should not in any way be seen as reflecting the views of any organisation the Author has any association with. Twitter @scottturneruon

Saturday 14 July 2018

WebVR 4 Playtime: Putting Objects into Augmented Reality

In a previous post, I tried to persuade you that using A-Frame it is not too hard to use for some simple Augmented Reality (AR) for free, via a browser, but also runs on a mobile device. Well I going to continue and put objects with images imposed on them into this AR system - which could be quite a quick way to get an organisations logo into AR.


Summary
In the first post WebVR playtime 1: Basics of setting up, images and rotating blocksI looked at setting up a scene, rotating an object.  Second post, recapped the basics, then look at adding video, 360 degree video, and models developed elsewhere. The third post started looking at using WebVR as part of an augmented reality solution building on the great resource Creating Augmented Reality with AR.js and A-Frame by Jerome Etienne, creator of AR.js. This gave us the starting code. 

In this post, the ideas are extended further to adding or wrapping images on top of an object.


Adding images to objects
In a previous post (WebVR playtime 1: Basics of setting up, images and rotating blocks) we have seen that in A-Frame if you create a block and in the tag for the block you add an image it gets wrapped on to the block.

As an example in the following code <a-sphere position="0 0.5 -.5" radius=".5" color="yellow" src="test1.png"> a yellow sphere of 0.5 units radius is produced with the image, stored in test1.png, wrapped around the sphere. What makes this effect even more interesting is any white on the image gets replaced by the underlying colour, yellow in this case, of the object. Change the underlying colour and the image can look different.

The way the image is mapped on to the objects, changes with the object. If the object had been a box all the sides would have a copy of the image on them. A sphere and box of different colours will be used to show these effects.

In this exercise, I went back to using Mozilla's Thimble because it allows images to be added into the file area easily and I was having problems with some other editors getting images to work. The slight downside is the automatic viewing of site, doesn't work with the camera; this though is easily worked around by publishing the site and viewing it as a live webpage (to see an example using the Hiro marker (same one as used in the previous post) go to https://thimbleprojects.org/scottturneruon/517091).

Ok, so what does this code look like and do? Let's look at the code for the example just discussed https://thimbleprojects.org/scottturneruon/517091 ), which has some text; but also a white box and yellow sphere that have the same image mapped onto them.

<!DOCTYPE html>
<html>
  <head>
    <meta charset="utf-8">
    <meta name="viewport" content="width=device-width, initial-scale=1">
    <title>AR and  WebVR using AFrame</title>
    <link rel="stylesheet" href="style.css">
    <script src="https://aframe.io/releases/0.7.0/aframe.min.js"></script>
    <script src="https://jeromeetienne.github.io/AR.js/aframe/build/aframe-ar.js"></script>
  </head>
  <body>
    <a-scene>
      <a-entity position="-.5 0 2.5">
        <a-camera></a-camera>
      </a-entity>
      <a-text  value="UO" color="#FFF" position="-1 1.8 -0.5"  align="center" width="2.6">
        <a-text value="N" color="#FFF" position="0 -0.125 0" height="1" align="center">
        </a-text>
        <a-animation attribute="rotation" dur="10000" to="360 360 360" repeat="indefinite"></a-animation>
      </a-text>

      <a-box src="test1.png" height="0.75" position="0 0 -0.5" width="0.75" depth="0.75" >
        <a-sphere position="0 0.5 -.5" radius=".5" color="yellow" src="test1.png">
          <a-animation attribute="rotation" dur="7500" to="0 360 0" repeat="indefinite">
          </a-animation>
        </a-sphere>
        <a-animation attribute="rotation" dur="15000" to="360 360 360" repeat="indefinite">
        </a-animation>
      </a-box>
      <a-marker-camera preset="hiro"></a-marker-camera>
    </a-scene>
  </body>

</html>

Everything in the code has been discussed in the previous post but not put altogeher. It can be seen in action here, a still of the marker and AR in action and the short video showing the movement.


via GIPHY

The combination of block, sphere and text, appear when the marker is visible and started to rotate.


What next?

It would be interesting to explore adding actual icons to the blocks (copyright etc allowing) and create new markers other than the Hiro to use, including using the recognition of different markers to present different AR outputs.

The other area to explore further would be adding externally generated 3D models into the system.


To read more go to 


All opinions in this blog are the Author's and should not in any way be seen as reflecting the views of any organisation the Author has any association with. Twitter @scottturneruon

Top posts on this blog in March 2024

The Top 10 viewed post on this blog in March 2024. Covering areas such as small robots, augmented reality, Scratch programming, robots. Micr...