In part one of this series of posts, the project to get Consumable Robotics UFO and Dimm robot was started but focussed on the UFO kit. The goal being for some action on Dimm to trigger a series of messages being passed between the two of them.
In this post, the focus moves to Dimm and the setting up the actions leading to the messaging.
Stage 1 Build
Using the Micro:bits port 0 (as part of the Dimm robot) for the input from the light sensor, which is included in the kit (Red lead going to 3v and the black lead going to GND). Just to note the less light there is the higher the value on the sensor.

Stage 2 Code
Micropython programmed through the Mu editor (see below)

If light levels are high then :
scroll a message saying "calling UFO"
send the code "dimm" via bluetooth.
otherwise:
scroll a message saying "I can't see"
If it recieves "ufo" via bluetooth :
display "Hello, UFO called me"
Micropython code
import radio
from microbit import pin0, pin1, display, sleep
radio.on()
while True:
incoming = radio.receive()
if incoming == 'ufo':
display.scroll("Hello, UFO called me", 75)
if pin0.read_analog()<175:
display.scroll("calling UFO")
radio.send("dimm")
else:
display.scroll("I can't see")
Stage 3 Testing
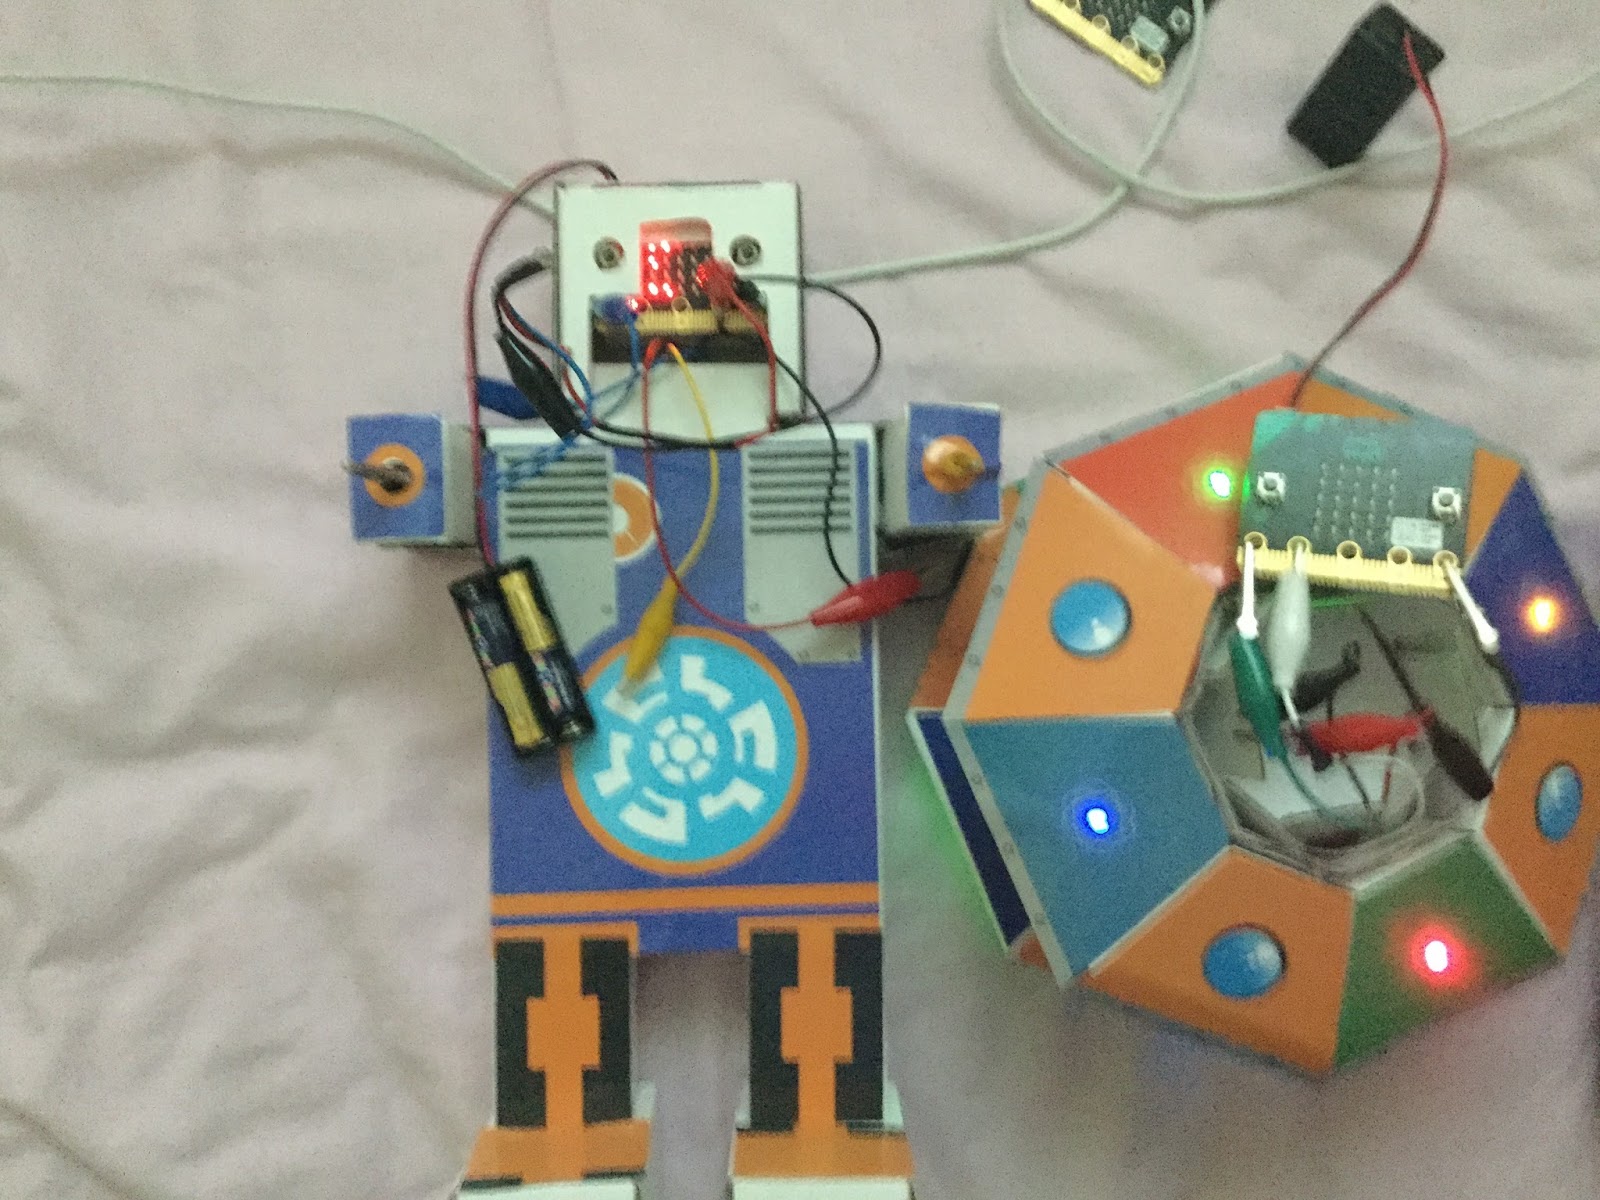
Video below shows it in action including what happens when the light (in this case a torch) shines on the sensor connected to Dimm; a message is sent and picked up by the UFO kit (LEDs flash and the message saying "DIMM calling" scrolls across the UFO LED array - see UFO talks to robot - part one for more details). A message is sent back from the UFO kit and on Dimm's LED array the message "Hello, UFO called me").
If the light levels are too low then the message "I can't see" scrolls across Dimm's LED array.
As an aside, the Dimm robot still reminds me, a little, of a colourful, friendly, Ood from Dr Who with all the leads hanging out of the 'mouth' - think that is geeky I know.
All opinions in this blog are the Author's and should not in any way be seen as reflecting the views of any organisation the Author has any association with. Twitter @scottturneruon
In this post, the focus moves to Dimm and the setting up the actions leading to the messaging.
Stage 1 Build
Using the Micro:bits port 0 (as part of the Dimm robot) for the input from the light sensor, which is included in the kit (Red lead going to 3v and the black lead going to GND). Just to note the less light there is the higher the value on the sensor.
Stage 2 Code
Micropython programmed through the Mu editor (see below)

If light levels are high then :
scroll a message saying "calling UFO"
send the code "dimm" via bluetooth.
otherwise:
scroll a message saying "I can't see"
If it recieves "ufo" via bluetooth :
display "Hello, UFO called me"
Micropython code
import radio
from microbit import pin0, pin1, display, sleep
radio.on()
while True:
incoming = radio.receive()
if incoming == 'ufo':
display.scroll("Hello, UFO called me", 75)
if pin0.read_analog()<175:
display.scroll("calling UFO")
radio.send("dimm")
else:
display.scroll("I can't see")
Stage 3 Testing
Video below shows it in action including what happens when the light (in this case a torch) shines on the sensor connected to Dimm; a message is sent and picked up by the UFO kit (LEDs flash and the message saying "DIMM calling" scrolls across the UFO LED array - see UFO talks to robot - part one for more details). A message is sent back from the UFO kit and on Dimm's LED array the message "Hello, UFO called me").
If the light levels are too low then the message "I can't see" scrolls across Dimm's LED array.
As an aside, the Dimm robot still reminds me, a little, of a colourful, friendly, Ood from Dr Who with all the leads hanging out of the 'mouth' - think that is geeky I know.
All opinions in this blog are the Author's and should not in any way be seen as reflecting the views of any organisation the Author has any association with. Twitter @scottturneruon
Thanks.......
ReplyDeleterobot kit
Robotics in Education
Educational robotics