In previous posts I looked at using the 4Tronix Cube:Bit with Python (http://bit.ly/2DcXcei) or Adafruit Circuit Playground with MakeCode (http://bit.ly/2T0ddcN) both used to make a 'Disco-Light' essentially reacting to vibrations from a speaker and therefore indirectly react to music.
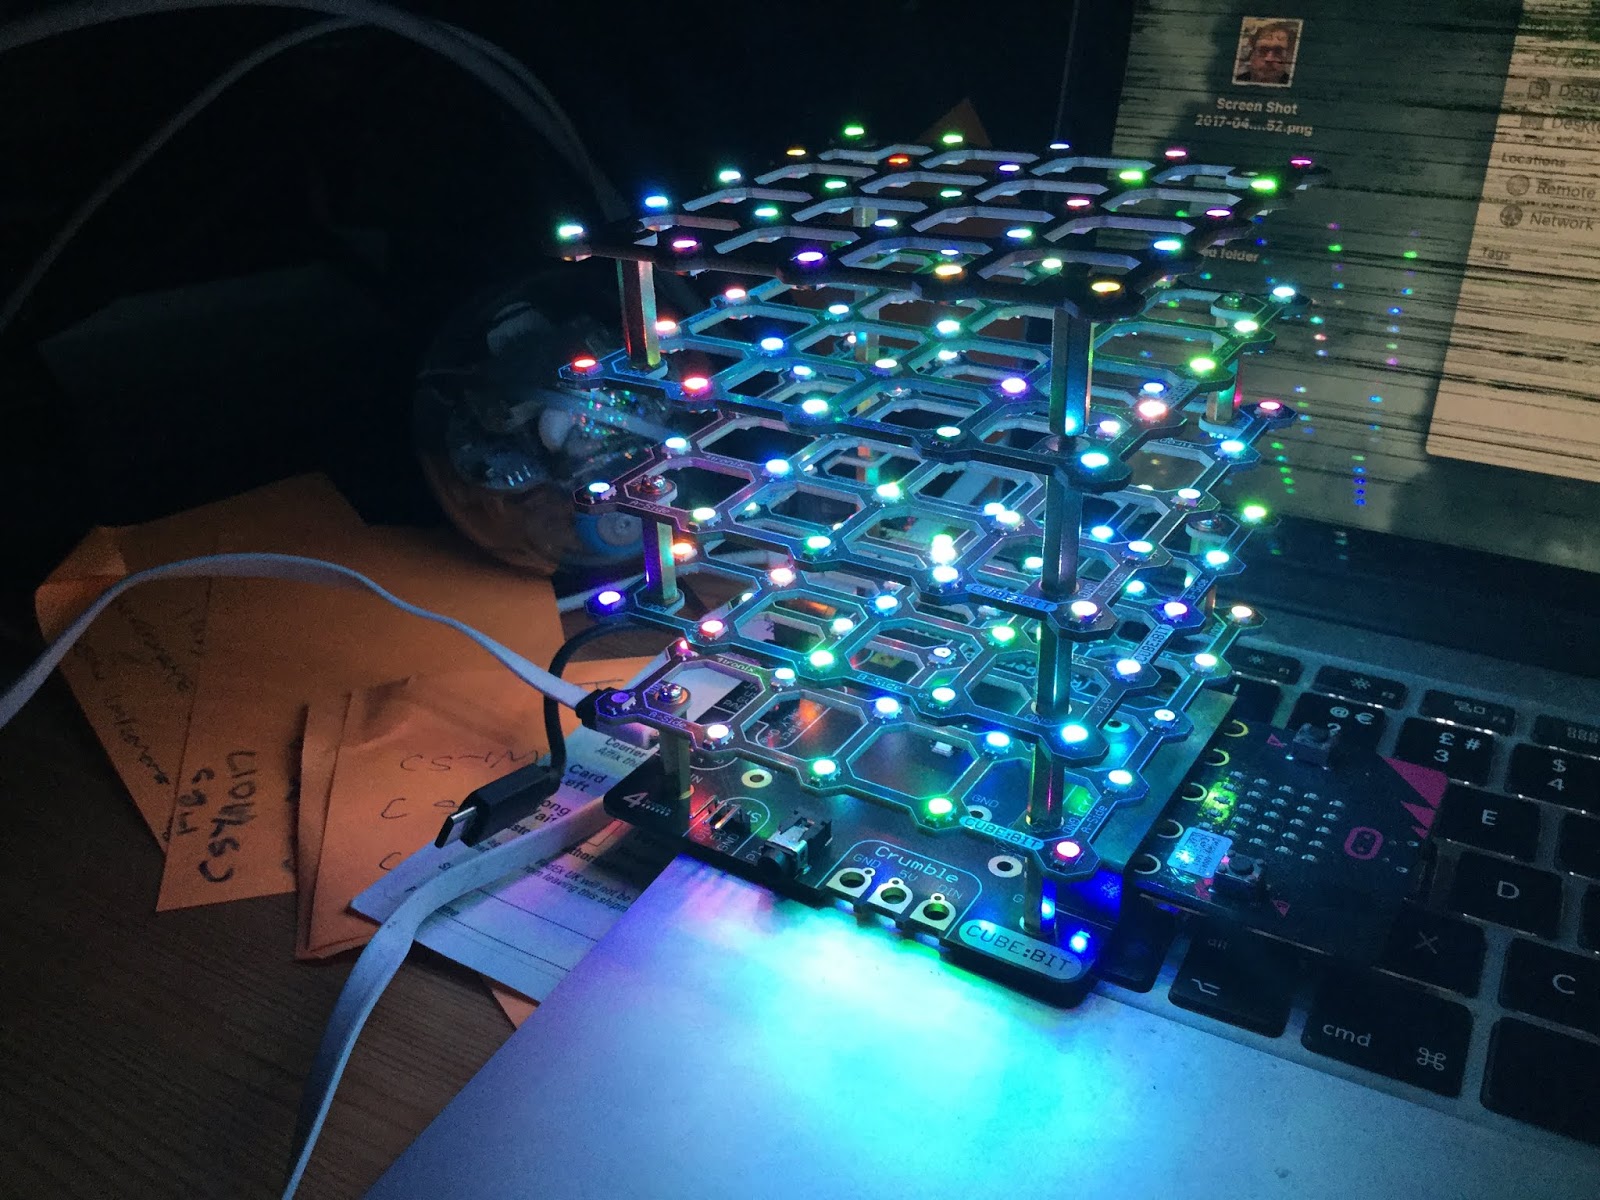
In this post, a short experiment with the Cube:Bit combined with MakeCode is shown. First thing once you are in https://makecode.microbit.org/# is to add the MakeCode package for the Cube released by 4tronix; details on setting this up are at https://4tronix.co.uk/blog/?p=1770.
So the basic (and it is basic) idea in the code, is change one of the pixel/LEDs colour in response to the acceleration in the three axes, with each axis controlling either the amount of Red, Green or Blue in the LED's output. The colour is shifted one pixel along each time and the process repeats. The effect is run the colours through all the LEDs. The code is shown below:

One of the other things of found I quite enjoy doing with it; is putting the cube at different angles and see what colours are produced.
All opinions in this blog are the Author's and should not in any way be seen as reflecting the views of any organisation the Author has any association with. Twitter @scottturneruon
In this post, a short experiment with the Cube:Bit combined with MakeCode is shown. First thing once you are in https://makecode.microbit.org/# is to add the MakeCode package for the Cube released by 4tronix; details on setting this up are at https://4tronix.co.uk/blog/?p=1770.
So the basic (and it is basic) idea in the code, is change one of the pixel/LEDs colour in response to the acceleration in the three axes, with each axis controlling either the amount of Red, Green or Blue in the LED's output. The colour is shifted one pixel along each time and the process repeats. The effect is run the colours through all the LEDs. The code is shown below:
One of the other things of found I quite enjoy doing with it; is putting the cube at different angles and see what colours are produced.
All opinions in this blog are the Author's and should not in any way be seen as reflecting the views of any organisation the Author has any association with. Twitter @scottturneruon
Very informative!!!!
ReplyDeleterobot kit
This comment has been removed by a blog administrator.
ReplyDelete